


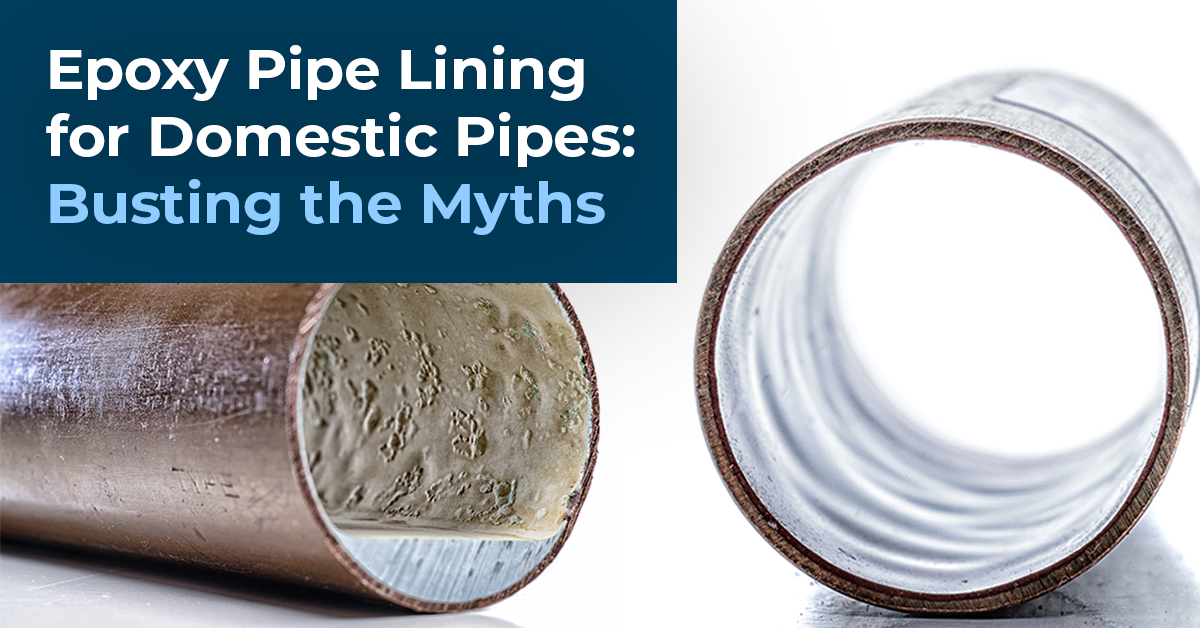
Pipe Lining Myth Busting:
Myth #3: Epoxy Pipe Lining Is Always Less Invasive Than Pipe Replacement
When your community is dealing with deteriorating domestic piping, it makes sense to ask: how can we solve this problem with minimal impact to residents?
We hear all the time from apartment owners/operators and condominium Boards that they’re considering pipe lining, rather than pipe replacement, because they think it will be less disruptive to residents and simply less hassle overall.
In practice, things don’t always work this way. Communities that pursue pipe lining can end up with extra holes cut in their walls, unexpected water shutdowns, and units that are uninhabitable during stretches of the project.
This post will explore why in many cases, pipe lining projects end up being more invasive than a repipe. And why—when carried out by an experienced and knowledgeable team—a pipe replacement can be completed with minimal impact to residents.
>> This is part of a series exploring myths around epoxy pipe lining for domestic pipes. Learn more about this series by checking out our intro post, Epoxy Pipe Lining for Domestic Pipes: Busting the Myths, and previous posts, including about why pipe lining isn’t always less expensive than pipe replacement and why epoxy pipe lining isn’t always safe.
What Does Pipe Lining Look Like in Action?
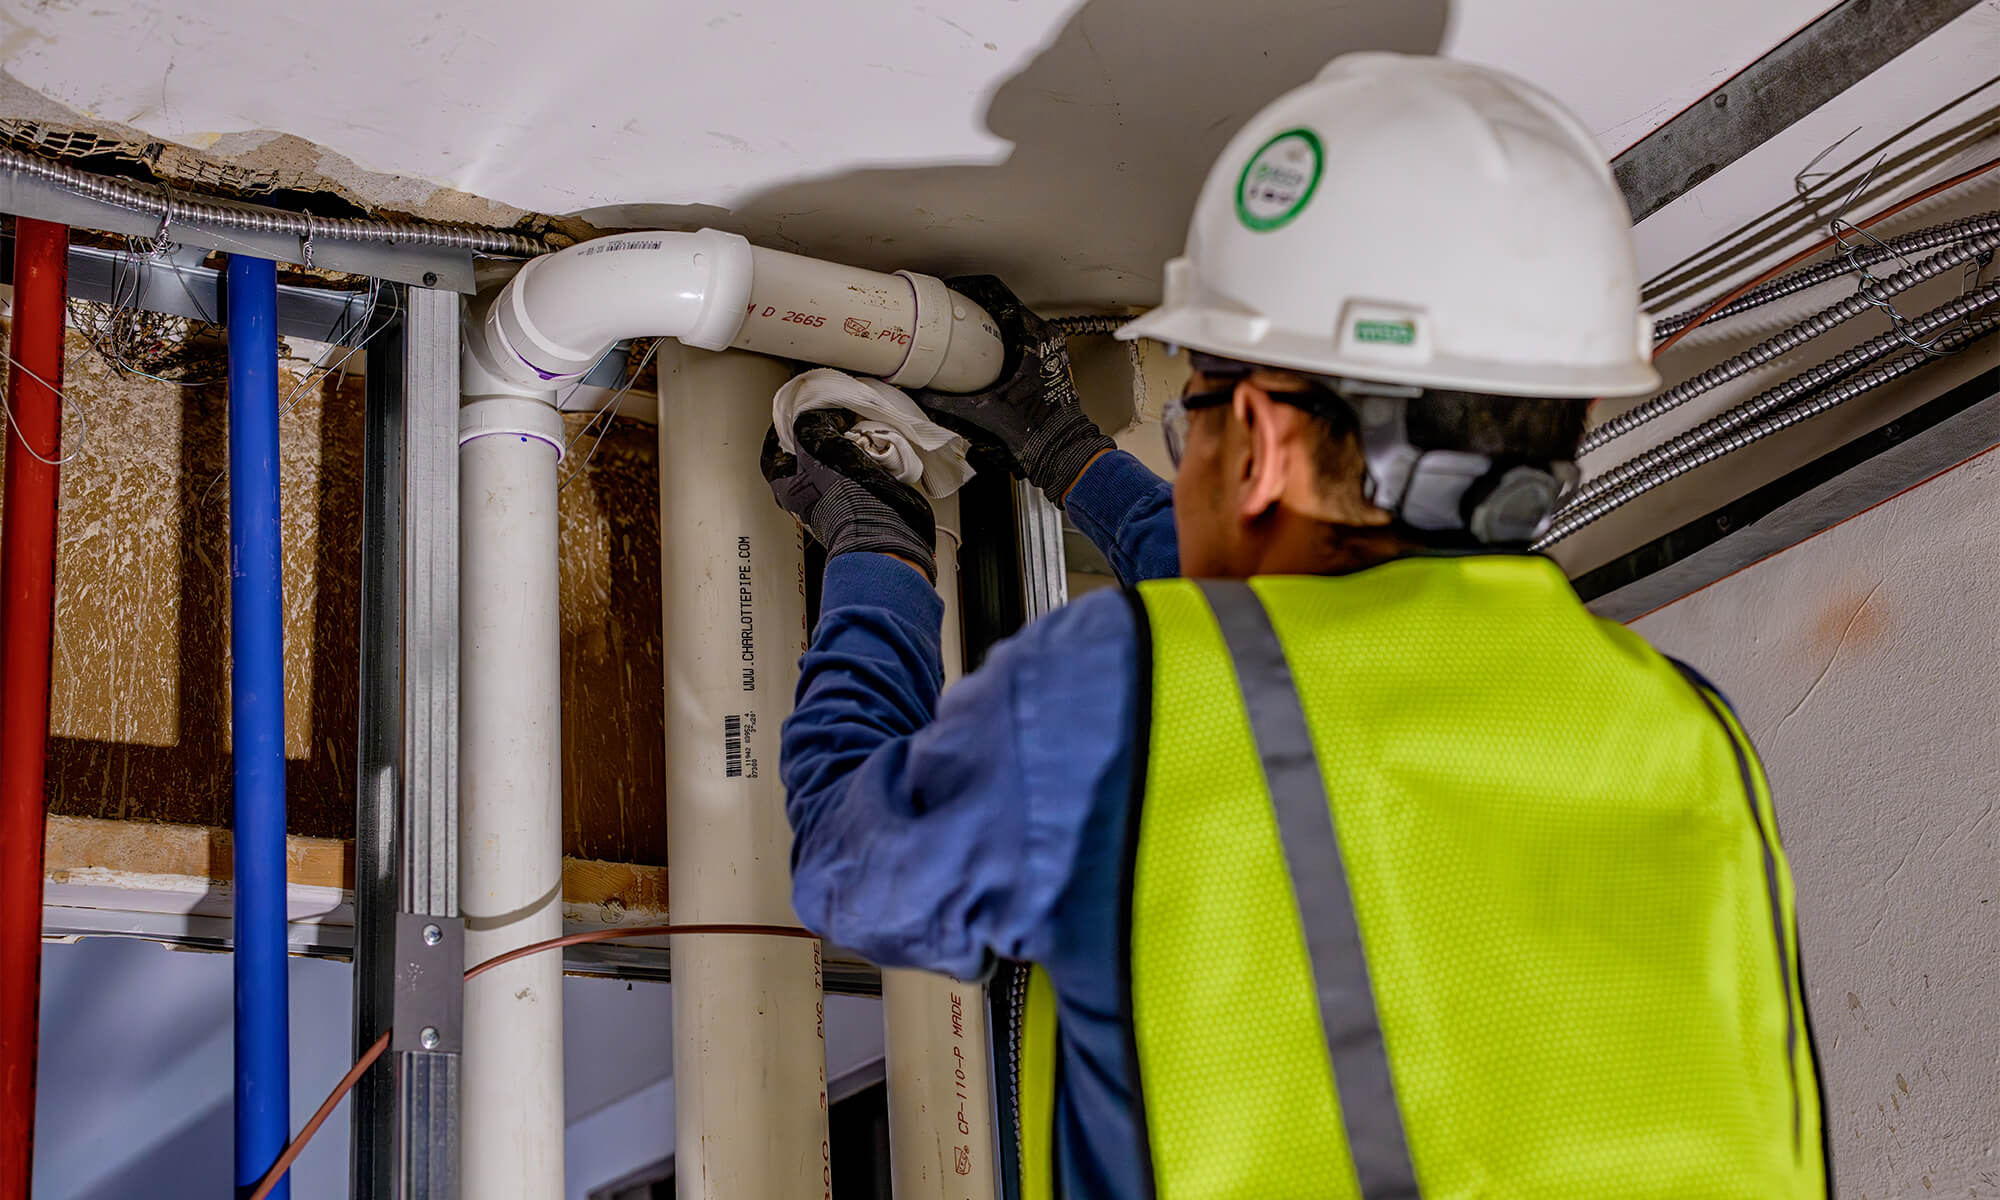
To explain why pipe lining is more invasive than many people think, let’s take a look at how lining domestic pipes actually works in practice.
Step 1: Valve Removal and Supply Line Disconnection
Before they line a domestic water system, pipe lining contractors will typically need to remove every valve in the system and disconnect supply lines from all fixtures (e.g., faucets, tubs, hose bibs, toilets, etc.). Next, they’ll run a spider web of hoses throughout the apartment or condo unit to each area where the supply lines have been disconnected. This network of hoses, which delivers the material for lining the pipes, often makes the work areas completely unusable by residents while the project is underway. For example, the hoses might run across hallways and door thresholds and up staircases, which create trip-and-fall risks.
Step 2: Cleaning the Piping
Next comes the cleaning phase of lining. Here, contractors use high-pressure air and abrasives to “sandblast” the inside of the pipe. The goal is to remove all corrosion, particulate, or film so that the metal will accept the epoxy.
Things can often go wrong during the cleaning phase. In many cases, the process causes weak areas of the pipe to rupture behind the walls. If this happens, the contractor needs to pause their work and find the ruptured areas by cutting holes in the wall. Next, they must perform a partial pipe replacement, then patch, finish, and paint or tile the walls.
Depending on how often this happens, these ad hoc repairs can end up making the project longer and more intrusive than a pipe replacement project. This is because contractors must take a “hunt and peck” approach to find all the hidden problem areas—in contrast to a system repipe, where a detailed plan will help them cut as few holes as possible.
Step 3: Inserting and Curing the Epoxy Lining
Finally, after the host pipe is cleaned and/or repaired, the epoxy lining is blown in. Commonly advertised cure times can range from two to 48 hours. This can vary, however, so if you pursue a pipe lining project, be sure to ask the installer about the required cure time to get a safe and successful result.
Some resins may have cure times that require the water to be shut off overnight, which is an inconvenience that may force residents to move out of their homes while the project is underway. Some installers may install complex temporary bypass systems in an effort to provide water during nights and weekends. However, these systems, which may involve hoses running throughout the property and through units, can be a major inconvenience, or—like the network of hoses used to blow in the epoxy—a potential trip-and-fall hazard for residents and maintenance staff.
Keep in mind that environmental conditions can vary from building to building, and different installers may require different amounts of time based on factors like the type of epoxy they are using, the complexity of the building piping system, and their experience. And in some cases, the curing process can be unsuccessful. In particular, epoxy resin can fail to cure if exposed to water too early.
This can all mean that, depending on unforeseen variables, installers may not be able to guarantee a return of service time, leaving the property without water overnight—or potentially longer—without advance notice to residents.
Pipe Replacement: How Providers Minimize Impact to Residents
Compared with pipe lining, the repipe process for a domestic piping system is quick and minimally disruptive. Pipe replacement providers will strategically cut holes to route new piping in the most efficient manner. They’ll remove the old pipes if they’re in the way or abandon them in place if not. This process takes just a few hours, and the new pipes can be installed the same day in most cases. At the end of day one, the unit has a new piping system.
Next comes the finishing process. For experienced repipe companies with in-house wall finishers and painters, restoring the walls is quick and painless. They reuse the same pieces of drywall cut to access the pipes, putting them back in place and then finishing and painting them to match. This generally takes one or two days.
When working with an experienced pipe replacement contractor, residents won’t need to move out of their homes, and they’ll only experience water shutdowns for a few hours a day. You can expect a reputable contractor will guarantee water is back on each evening.
In Conclusion: Ask the Detailed Questions
When you’re evaluating your options for dealing with faulty domestic piping, be sure to ask lots of questions about what the project will look like in action. Whether you opt for pipe lining or pipe replacement, it’s important to understand the full scope of the project and the risks and benefits to both your infrastructure and your residents.
*
Throughout our myth busting series, we’ll dive deeper into questions you can ask so that you make an informed decision about what’s right for your community. As part of your research, contact SageWater for a free consultation about the process and costs of a turnkey pipe replacement solution that minimizes disruption for residents.